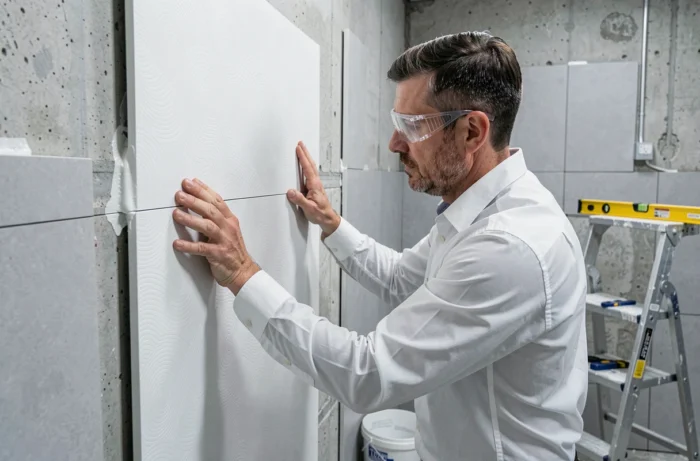
The Vipanel wall panels from Roth offer an alternative to tiling for dressing the walls of a bathroom or shower. Their installation relies on direct gluing and a system of edge-to-edge assembly or with profiles. The success of the project depends less on the tools than on the preparation of the substrate and the sequence of gluing, two points where errors tend to concentrate.
Vipanel installation with profiles or without profiles: comparison of the two methods
Roth offers two assembly approaches for its wall panels. The choice between the two determines the tools, visual appearance, and cutting constraints. Here is a factual comparison of the two options.
| Criterion | Installation with profiles | Installation without profiles |
|---|---|---|
| Specific tools | Jigsaw, grinder, or metal saw | Milling machine (e.g., Festool PF 1200, Mafell MF 26cc, or Makita CA5000XJ) |
| Visual appearance | Visible profiles (joint, angle, finish) | Sleek appearance, almost invisible joints |
| Finish compatibility | All Vipanel finishes | Not suitable for glossy Vipanel |
| Complementary adhesive | Double-sided foam + polymer glue | Thin double-sided tape for edge-to-edge installation + polymer glue |
| Difficulty level | Accessible with common tools | Requires a milling machine and mastery of bevels |
The Roth installation manual specifies that installation without profiles is not suitable for glossy Vipanel. This point is often overlooked, even though it determines the choice right at the time of purchasing the wall panel. If you opt for a glossy decor, plan for the internal, external, joint, and finishing corner profiles right from the order.
To understand how to successfully install Vipanel panels, the first decision thus revolves around this structural choice between the two methods.
Preparation of the wall substrate before Vipanel gluing
The majority of installation defects (detachment, bubbles, misalignment) stem from a poorly prepared substrate. The Roth manual requires a stable, uniform, sound, and dry wall. In renovation, this means a cleaning and treatment work that many underestimate.
Absorbent substrates and primer
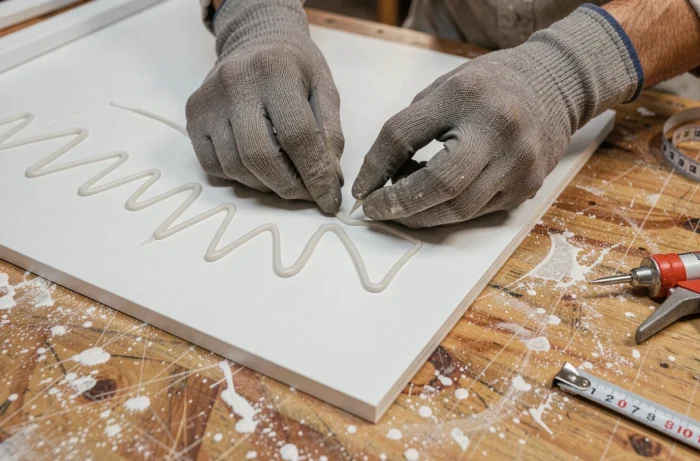
A primer must be applied to highly absorbent substrates, particularly water-resistant plasterboards. Without this step, the polymer glue loses adhesion because the substrate absorbs the solvent before curing. The primer creates a barrier that regulates absorption and ensures uniform gluing.
Removal of protective films
Each Vipanel panel comes with a protective film on the back. The installation manual reminds to remove the back protective film before gluing. The glossy versions have a second film on the front face, which must be removed before installation. Forgetting the back film prevents any adhesion of the glue, a simple but common mistake on job sites.
Cutting and assembling wall panels in wet areas
Cutting is the step that requires the most precision. Two types of tools are used depending on the cut.
- For straight cuts: a plunge saw equipped with a negative rake aluminum blade, guided by a rail. The negative angle prevents tearing of the composite surface of the panel.
- For circular cuts (for plumbing fixtures, showerheads): a jigsaw with a metal blade or a hole saw. Marking the position with masking tape before drilling limits the risk of slipping.
- For installation without profiles: a milling machine creates the bevels on the edges. A fine quarter-round file ensures the finish between the profile and the panel.
Large formats (especially large panels) require handling by two people, using suction cups. A minimum of two suction cups is necessary for transport and placement. Working alone on a large panel risks misalignment at the moment of placement on the glue, with no possibility of adjustment.
Management of panoramic decors
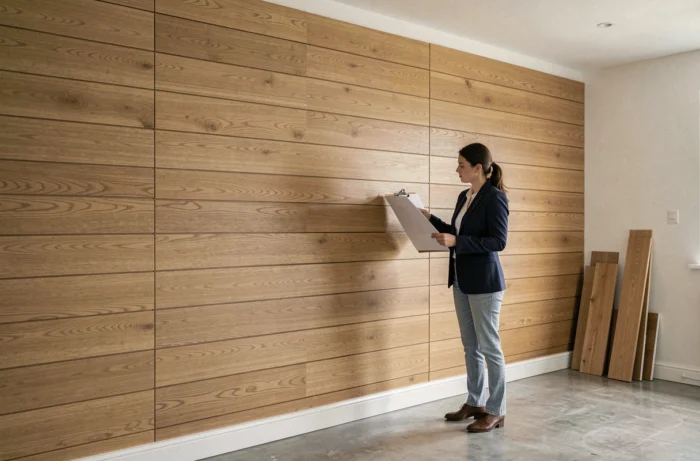
Vipanel panoramic decors, designed to cover large surfaces with a continuous pattern, add a constraint of alignment. Unlike repetitive decors, each panel carries a unique portion of the visual. The order of gluing and alignment must be checked dry before gluing, by positioning the panels on the floor to control the continuity of the pattern.
This prior check takes a few minutes but avoids a visible misalignment once the polymer glue is applied, as repositioning is time-limited.
Waterproofing and finishing: silicone and Vipanel joints
The assembly of the panels, whether done with or without profiles, does not guarantee waterproofing in a shower or bathroom on its own. Silicone (clear or colored) provides the final sealing at joints and periphery.
Silicone is applied after the complete gluing and curing of the polymer glue. Applying the joint too early, before the panels are stabilized, risks creating tensions that crack the cord during the natural withdrawal of the glue.
Clear silicone is suitable for most configurations, especially on white or light-colored finishes. For black or dark panels, a matching colored silicone preserves visual coherence. The Roth manual mentions both options without imposing a brand, allowing the choice of product as long as it is compatible with wet areas.
Maintenance after installation
Once the panels are installed, regular maintenance does not require any abrasive products. A mild cleaner is sufficient to preserve the composite surface. Glossy finishes are more sensitive to micro-scratches than matte finishes, which guides the choice of wall panel right from the selection phase, depending on the actual use of the room.
The quality of Vipanel installation relies on three critical sequences: preparation of the substrate with primer if necessary, the choice between assembly with or without profiles according to the panel finish, and the dry verification of alignments before any gluing. Each error at these stages is difficult to correct once the polymer glue is applied.